Introduction
Mounting is the second step in metallographic sample preparation: the specimen, freshly cut from sectioning, is embedded in a resin so it can be ground, polished, and examined. The job of the mount is straightforward.
Four reasons to mount a specimen
- Hold the specimen for grinding and polishing
- Protect specimen edges from rounding during prep
- Fixture into automated machines, or give the operator something safe to handle manually
- Control orientation by fixturing the specimen inside the mount

PACE compression presses, castable resins, and accessories cover the full mounting workflow.
Two methods cover almost all metallographic mounting: compression mounting, which uses heat and pressure to form a mount from resin powder or granules in a few minutes per cycle; and castable mounting, which pours a liquid two-part resin around the specimen at room temperature and cures it over minutes to hours. The two methods use different consumables, different equipment, and different parameter ranges. The choice between them determines edge retention, throughput, and the kinds of specimens you can mount safely.
Sample Planning
Three decisions matter before the resin touches the specimen: orientation, edge-retention strategy, and mount-to-sample ratio. Get these right and the mounting step earns its keep; get them wrong and grinding, polishing, and analysis all suffer.
Orientation
Mount the specimen so the surface you want to examine ends up perpendicular to the mount face. For cross-section analysis (welds, case-hardened parts, coatings, multilayer structures), that means orienting the cut surface from sectioning face-down on the mold (compression) or face-down with a small spacer (castable). For thin specimens or oddly shaped parts, use mounting clips to keep the specimen perpendicular to the examination plane.
Edge retention strategy
Edge retention is the biggest single quality difference between mounting methods and resins. If your analysis depends on the edge (coatings, surface treatments, case hardness profiles, thin films), pick the resin family that holds the edge tight to the specimen:
- Best edge retention: glass-filled epoxy or diallyl phthalate (DAP) compression mounting
- Good edge retention with castable: epoxy with the specimen-preheat trick (see Castable Mounting below)
- Lower edge retention: phenolic compression, fast-cure castable acrylics
Mount-to-sample ratio
Aim for the specimen to occupy roughly 50–70% of the mount diameter. Too small a specimen wastes resin and floats during pouring; too large a specimen leaves thin resin walls that fail at the edges during grinding. Standard mount sizes are 1″, 1.25″, 1.5″, and 2″ diameter.
Quick checks before mounting
- Is the specimen clean and completely dry? Cutting fluid and moisture cause defects.
- Does the cut surface from sectioning face the mount surface?
- For coatings or edges, is the surface of interest perpendicular to the mount face?
- Will the finished mount be 50–70% specimen, 30–50% resin?
- If mounting multiple specimens together, are they spaced at least 2–3 mm apart?
Choosing Your Method
Compression and castable mounting are not interchangeable. Match the method to the specimen, the throughput target, and the equipment you have available.
| Compression Mounting | Castable Mounting | |
|---|---|---|
| Typical use | Routine metal samples, high throughput | Delicate, heat-sensitive, porous, irregular, or multi-specimen mounts |
| Cycle time | ~10–15 minutes per mount | 8 minutes (fast acrylic) to overnight (slow epoxy) |
| Temperature | High: 150–200°C molding | Room temperature, with optional exotherm management |
| Pressure | High: 2,000–4,200 psi | Atmospheric, or vacuum + pressure for porous samples |
| Edge retention | Excellent (DAP, glass-filled epoxy) to fair (phenolic) | Good with epoxy + specimen preheat trick |
| Throughput | One specimen per cycle | Multiple specimens per mold |
| Equipment cost | Higher (heated/cooled press required) | Lower (molds + optional vacuum chamber) |
| Choose when | Routine metals, hardened steels, high-volume production, automated workflows, edge retention is critical | Heat-sensitive specimens (polymers, solders, thermal spray); porous or cracked specimens needing vacuum impregnation; SEM samples needing conductive mounts (also possible in compression); multi-specimen pours for throughput per pour; very large or irregular specimens |
The rest of this guide is split into two self-contained tracks. Read Compression Mounting if you have a press and routine specimens. Read Castable Mounting for delicate, porous, multi-specimen, or heat-sensitive work. Universal Best Practices and Troubleshooting apply to both.
Compression Mounting
Compression mounting uses heat and pressure to consolidate a thermoset or thermoplastic resin powder around the specimen inside a heated mold. Each cycle takes 10–15 minutes and produces a hard, dimensionally consistent mount with excellent edge retention. It is the default mounting method for routine metal samples and the only practical choice for production-scale labs.
How compression mounting works
The specimen sits on a hardened ram inside a cylindrical mold. Resin powder or granules are poured around the specimen, the mold is sealed, and the press applies heat (typically 150–200°C) and pressure (around 2,000–4,200 psi) for several minutes. The resin softens, flows around the specimen, and either cross-links (thermoset: phenolic, glass-filled epoxy, diallyl phthalate) or melts and re-solidifies (thermoplastic: acrylic). After the cure dwell, the mount cools under pressure, and the ram extracts the finished cylinder.
Dr. Donald Zipperian demonstrates compression mounting on PACE Technologies equipment.
What to look for in a press
Two specifications separate good metallographic presses from inadequate ones:
- Heater capable of at least 250–300°C (480–575°F). Some resins (acrylics, DAP) molded at the high end of their temperature range produce cleaner, harder mounts.
- Integrated water cooling. Without active cooling, the cooling phase dominates total cycle time. The heater and cooler should be intimately connected to the mold assembly so heat transfers efficiently in both directions.
Recommended PACE compression presses
The PACE TERAPRESS line covers manual hydraulic, automated pneumatic, and recirculating cooling.

TP-7500S Hydraulic Press
Hydraulic force, heater plus water cooling, programmable temperature and pressure cycles. The workhorse for production labs.

TP-7100S Pneumatic Press
Pneumatic force, smaller footprint, lower cost of ownership. Right for moderate-volume labs that already have shop air.
View the full TERAPRESS lineup →
Compression mounting resin families
Five resin families cover almost all compression mounting needs. Pick by edge retention, color, hardness, and whether the lab needs SEM-conductive mounts.
| Property | Phenolic | Acrylic | Glass-filled Epoxy | Diallyl Phthalate (DAP) |
|---|---|---|---|---|
| Type | Thermoset | Thermoplastic | Thermoset | Thermoset |
| Cost | Low | Moderate | Moderate | Moderate |
| Edge retention | Fair | Good | Excellent | Excellent |
| Color options | Black, red, green, orange, white | Clear only | Black | Blue or black |
| Clarity | None | Excellent | None | None |
| Molding temperature | 150–200°C (300–420°F) | 185–200°C (350–420°F) | 143–200°C (290–425°F) | 160–200°C (320–420°F) |
| Min cure (1/2″ mount) | 3–5 min | 5–7 min | 5 min | 5 min |
| Shrinkage (in/in) | 0.006 | n/a (thermoplastic) | 0.001–0.003 | 0.001–0.003 |
Mount hotter than the minimum. Compression mounting at higher than the recommended minimum temperature generally improves the mount's properties: harder surface, fewer voids, better edge support. Stay within the resin's molding-temperature range and add a minute or two of dwell.
PACE compression mounting consumables
| Resin family | PACE product | SKU pattern | Use case |
|---|---|---|---|
| Phenolic powder | Black, red, green, orange, white | CM-2001B / R / G / OR / W | Default low-cost mounting; color-code by date or sample type |
| Acrylic (transparent) | Transacrylic | CM-2101A | When you need to see the specimen through the mount |
| Glass-filled epoxy | Epocomp, Epocomp Fine | EP-2201A, EPF-2201A | Hard support for coatings, hardened steels, carbides; excellent edge retention |
| Glass-filled DAP | Diallyl phthalate, short-glass filled | DY-2301A | Excellent edge retention with blue or black color |
| Conductive (graphite-filled) | CONDUCTO | CONDUCTO-1 (2.5 lb), CONDUCTO-5 (5 lb) | SEM samples (prevents charge buildup); electrolytic etching or polishing |
View the full compression mounting consumables catalog →
Compression mounting procedure
- Clean the specimen of cutting fluid, oxide, and handling residue. Oil contamination prevents polymerization at the specimen surface.
- Remove all debris from the mold assembly and apply a thin coat of mold release.
- Raise the ram, center the specimen on the ram face, and lower the ram into the mold cavity.
- Pour a measured amount of resin around the specimen (use a calibrated scoop). Wipe excess resin from the mold thread area.
- Lock the mold cover and bring the ram up to working position.
- Apply the recommended temperature and pressure for the specified dwell time. Stay near the high end of the resin's temperature range for best properties.
- Cool the mount under pressure to near room temperature. Slow cooling prevents cracking from internal stress.
- Eject the mount, clean the mold and ram, and inspect the surface before grinding.
TIP: Preheating the resin powder and sample to 95°F (35°C) shortens the initial heat-up phase and improves throughput.
Edge retention strategy
For coatings, hardened-steel cases, plating layers, and other edge-critical work, the resin choice matters more than anything else you do at this step.
- Glass-filled epoxy or DAP directly against the specimen edge. The glass filler holds the resin tight to even very hard specimens (tungsten carbide, hardened tool steel) with no visible gap at the interface.
- Laminated mount technique to control cost. Glass-filled epoxy and DAP are 3–5× the cost of phenolic. Put a thin layer (enough to survive grinding) of glass-filled resin around the specimen, then back-fill the rest of the mount with red phenolic. The edge stays tight where it matters and the bulk of the mount is cheap powder. The two layers bond together during the press cycle.
Conductive mounts for SEM and electrolytic prep
Phenolic resin with a graphite or copper filler (PACE: CONDUCTO) is electrically conductive end-to-end through the mount. Two situations require this:
- Scanning electron microscopy. A non-conductive mount lets the specimen build up a surface charge under the electron beam, distorting the image. A conductive mount drains the charge to the SEM stage.
- Electrolytic etching or polishing. Current has to flow from the stage through the mount to the specimen surface. Non-conductive mounts break the circuit.
Tip: color-code phenolics by month or job. Phenolic powders come in five colors. Use a different color each month (or each shift, or each sample batch), and you can see at a glance which mounts are old, which jobs go together, and which need follow-up. No labeling required.
Tip: embed paper labels inside the mount. For pure-acrylic mounts, place the printed label on top of the powder before pressing and finish with a little extra acrylic over it. For phenolic or other opaque bases, mold the base first to about 80% height, add a thin acrylic layer, place the label on the acrylic, and finish with another thin acrylic top layer. The label is permanently sealed inside the mount and visible through the clear acrylic window.
"Cotton ball" defect (acrylic only). If you see an unmelted white blob in the center of a clear acrylic mount, the cure cycle did not bring enough heat into the powder core to fully melt it. The fix is more time or more temperature: re-press the same mount at the same or higher temperature for an extra minute or two, and the cotton ball disappears. Don's documented progression: 150°C / 3 min / 2 min cool = clear defect, 170°C / 4 min / 3 min cool = much smaller, 200°C / 5 min / 3 min cool = clean. Start near the top of the acrylic range.
Castable Mounting
Castable mounting pours a liquid two-part resin around the specimen at room temperature and lets it cure into a hard mount. No press is required, the temperature stays low enough for heat-sensitive specimens, and a single pour can hold many specimens at once. The trade-off is cure time, which ranges from 8 minutes for a fast acrylic to several hours or overnight for a clear epoxy.
Dr. Donald Zipperian demonstrates castable mounting, including vacuum chamber use for porosity-free mounts.
Castable resin families
Three resin chemistries cover most castable mounting work. Each one is built around a different trade-off between speed, clarity, hardness, and shrinkage.
| Property | Epoxy | Acrylic | Polyester |
|---|---|---|---|
| Peak exotherm | 100–375°F (38–190°C) | 150°F (65–70°C) | 100°F (35–40°C) |
| Shore D hardness | 82 | 80 | 76 |
| Cure time | 30 min to 8 hr | 5–8 min | 6–8 hr |
| Character | Moderate hardness, low shrinkage, clear to slight yellow | Very fast cure, translucent, some shrinkage, high odor | Water-clear, ideal for display-style castings, high odor |
Metallographic grinding requires the mount to reach at least Shore D80. All three resin families meet this; epoxy continues to harden over time toward Shore D90.
Epoxy variants
Standard epoxy works for routine mounting, but two specialty epoxies in the PACE line solve specific problems.
| Standard Epoxy | Quick Mounting Epoxy | Low Viscosity Epoxy | |
|---|---|---|---|
| Character | Lower cost, general purpose | Fast cure | Lower viscosity, clearer, lower exotherm, low shrinkage |
| Cure time | 2–6 hr | 30 min to 2 hr | 2–6 hr |
| Mix ratio (wt) resin:hardener | 5:1 | 10:1 | 10:1 |
| Peak exotherm (30 g) | 350°F (180°C) | 375°F (190°C) | 150°F (65°C) |
| Viscosity / shrinkage | Medium / moderate | Medium / high | Low / low |
Low-viscosity epoxy is the right choice for porous and cracked specimens. It flows into voids, runs cooler so it does not stress the specimen, and shrinks less so edges stay intact. PACE's ULTRATHIN 2 is the low-viscosity option; EPOXY-ELITE is an environmentally friendly variant of the standard formulation.
PACE castable mounting consumables
| Resin family | PACE product | SKU pattern | Use case |
|---|---|---|---|
| Acrylic (clear) | ACRYLIC PLUS | ACYP-5000 (powder + hardener) | Fast cure for routine work, transparent |
| Acrylic (glass-filled) | SUPERMOUNT | GRAR-5000 (powder + hardener) | Acrylic speed with better edge retention |
| Epoxy (standard) | Standard 2-part epoxy | EP-3000 (resin), EH-3000 (hardener) | General-purpose two-part epoxy |
| Epoxy (low-viscosity) | ULTRATHIN 2 | ULTRA-3000 (resin), ULTRA-3000H (hardener) | Porous specimens, vacuum impregnation, low exotherm |
| Epoxy (environmental) | EPOXY-ELITE | ELITE-3000 (resin), ELITE-3000H (hardener) | Lower-VOC epoxy for sensitive lab environments |
| Polyester | POLYCAST | POLYCAST-128, POLYHARD-02 | Water-clear mounts, display castings |
View the full castable mounting consumables catalog →
Castable mounting procedure
- Clean and completely dry the specimen. Cutting residue and moisture cause defects.
- Remove debris from the molding cup or reusable mold and apply a thin coat of mold release.
- Center the specimen in the mold. For thin specimens, use a clip to hold the specimen perpendicular to the examination plane.
- Measure resin and hardener accurately by weight or volume (epoxy is strict on ratio; acrylic tolerates ±25%).
- Mix gently with a folding motion to avoid pulling air into the resin.
- Pour the resin around the specimen. For porous or cracked specimens, pour under vacuum (see below).
- Let the mount cure at room temperature, or use the cure-cycle controls below to speed up or slow down the reaction.
- Demold and inspect the mount before grinding.
TIP: Preheat resin, hardener, and specimen to 85°F (30°C) before mixing to shorten the cure cycle. This raises peak exotherm proportionally, so do not preheat if the specimen is heat-sensitive.
Edge retention via specimen preheating
Castable epoxy normally shrinks slightly as it cures, which pulls the resin AWAY from the specimen edge and leaves a microscopic gap. That gap is where edges round over during grinding.
The trick: preheat the specimen, not the resin. When the warm specimen contacts the room-temperature epoxy, the resin nearest the specimen surface cures first. As the rest of the mount cures and shrinks toward the already-set inner shell, the resin pulls TOWARD the specimen instead of away from it. The result is a tight, gap-free interface and noticeably better edge retention than a uniformly cured mount.
Controlling the cure cycle
Epoxy cure speed responds to temperature and gas exchange in both directions.
- To accelerate: preheat resin to ~120°F (50°C) before mixing, then cure at room temperature. An 8-hour resin can finish in 30–45 minutes this way. Peak exotherm rises in proportion, which can cause yellowing or cracking on large pours.
- To slow down: force air over curing mounts (fume hood or fan), submerge in a room-temperature water bath, or refrigerate. If the reaction stalls or the mount is too soft after cure, finish it by heating at 100–120°F for several hours. The mount hardens on cooling.
Acrylic and polyester can also be submerged in a water bath during cure to keep the exotherm down, reduce shrinkage at the specimen interface, and dampen the strong odor.
Vacuum and pressure impregnation
For porous specimens (thermal spray coatings, sintered metals, ceramics with closed porosity, cracked or weathered samples), vacuum impregnation forces resin into voids that would otherwise leave open pores in the polished face. The mechanism is gas-law arithmetic.
PV = nRT. Bubble volume V = nRT / P. To shrink trapped air bubbles, drop the pressure during impregnation (so the gas inside each void expands and gets displaced by resin) and then RAISE the pressure during cure (so any remaining gas compresses and the resin fills the void). Vacuum-pour, pressure-cure.
Recommended procedure
- Place the mold and specimen in the impregnation chamber
- Mix the castable resin (use low-viscosity epoxy for best penetration)
- Seal the chamber and pull vacuum
- Pour resin into the mold under vacuum
- Slowly raise the pressure
- Cure at room pressure, or apply external pressure for the cure cycle
TIP: Do not pull vacuum for more than 60 seconds before pouring. Extended vacuum makes dissolved gases in the resin itself bubble out (similar to opening a carbonated beverage), and those bubbles end up in your mount instead of in the specimen voids.
Recommended PACE castable mounting equipment

TeraVAC, TeraVAC Pro
Vacuum impregnation chambers. The base TeraVAC handles manual vacuum and pressure control; TeraVAC Pro adds programmable cycles and a built-in rotating table.

TeraCOMP Pressure Mounting
Pressure-only chamber for the cure phase. Compresses residual bubbles after a vacuum pour, useful for clear epoxy mounts where any bubble is unacceptable.
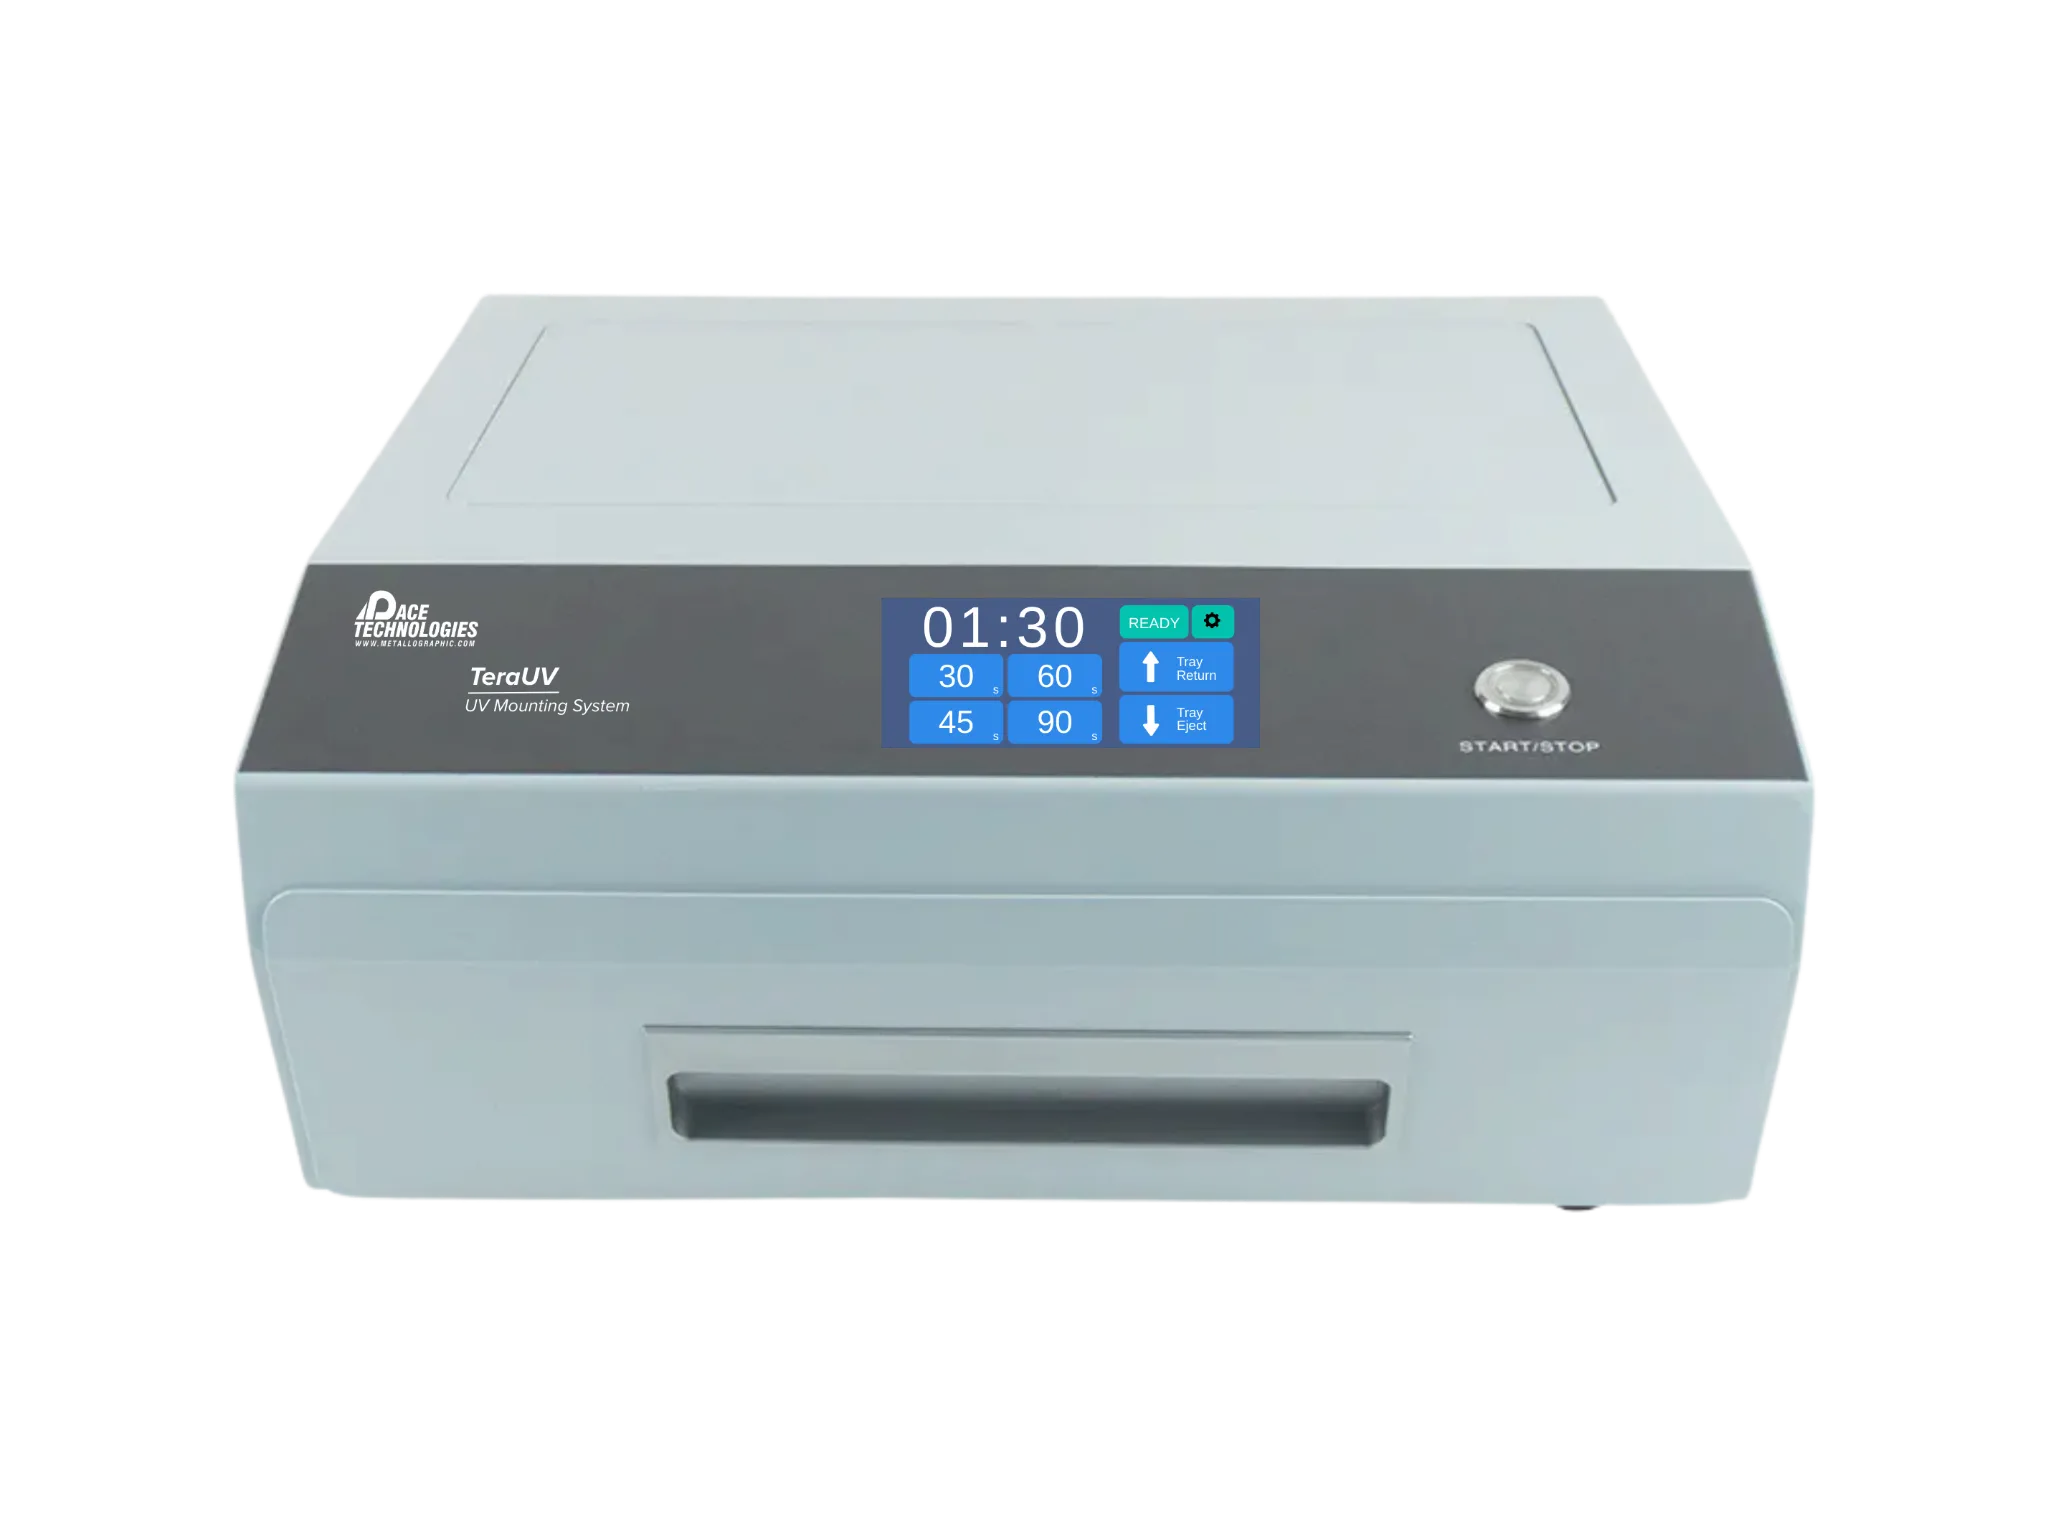
TeraUV UV Curing
UV chamber for fast-cure UV-curable castable resins. Cuts cure time from hours to minutes when the resin chemistry supports it.
View the full castable mounting equipment lineup →
Multi-specimen and display castings. Polyester is the right choice when the mount has to be water-clear (showcasing a part, multi-layer suspension casting). Pour an initial layer, let it gel (not fully cure), place the specimen on the rubbery surface, then pour the next layer. The catalyst ratio drops as layer thickness increases: 15 drops per ounce of resin for an 1/8″ layer, but only 4 drops per ounce for a 1″ layer, because the larger pour generates more exotherm per unit time.
Universal Best Practices
These habits apply to both compression and castable mounting.
Before the mount
- Clean the specimen with an appropriate solvent to remove cutting fluid, oxide, and handling residue. Oil and contamination prevent polymerization at the specimen surface.
- Dry the specimen completely. Trapped moisture vaporizes during cure and creates voids, especially in compression mounting and around copper-containing alloys.
- Plan orientation: which face needs to be examined? Mount it perpendicular to the mount surface.
- Confirm specimen size against mount diameter; target 50–70% specimen by area.
- For two-part castable systems, check the hardener expiration date. PACE hardeners typically have a one-year shelf life; degraded hardener is a common cause of soft, gummy mounts.
During the mount
- Measure two-part resins accurately. Epoxy ratios are unforgiving; acrylic ratios tolerate ±25% variation.
- Mix with a slow folding motion to avoid pulling air into the resin.
- Pour castable resin slowly and steadily to minimize bubble entrainment.
- Watch the cycle. A compression press that does not reach target temperature, or that cools too rapidly, produces a defective mount.
After the mount
- Let compression mounts cool fully under pressure before ejecting. Pulling a hot mount cracks the resin.
- Inspect every mount before sending it to grinding. Re-mounting is cheap; a hidden defect that fails during prep is expensive.
- Document the parameters (resin, temperature, pressure, dwell time, cool time) for the lot. Reproducibility starts with notes.
- Label the mount or use color-coding so it stays identified through the rest of prep.
Multi-specimen mounts
- Space specimens at least 2–3 mm apart so resin can flow between them.
- Keep all specimens at the same height in the mold so the ground face exposes all of them at the same plane.
- Use mounting clips to hold thin specimens perpendicular to the examination plane.
Troubleshooting
Most mounting problems trace back to specimen prep, resin chemistry, or cure-cycle parameters. The table below lists the symptoms PACE customers most often call about, with the cause and the fix. The "Method" column indicates whether the problem occurs in compression mounting (C), castable mounting (K), or both (C/K).
| Symptom | Method | Common causes | Fix |
|---|---|---|---|
| Soft or gummy mount surface; grinding produces a matted finish | K |
|
|
| Cure does not start, or finishes only partially | K |
|
|
| Yellowing, cracking, or bubbling of cured resin | K |
|
|
| Cure cycle takes too long | K |
|
|
| Bubbles trapped in resin or around specimen | K |
|
|
| Large bubbles in acrylic compression mount | C |
|
|
| "Cotton ball" defect (white unmelted blob in clear acrylic mount) | C |
|
|
| Soft surface on a compression mount | C |
|
|
| Voids or cracks in compression mount | C |
|
|
| Haze around specimen in acrylic compression mount | C |
|
|
| Phenolic dye bleeds out during alcohol rinse | C |
|
|
| Specimen distortion or cracking during compression | C |
|
|
| Edges round over during grinding | C/K |
|
|
Frequently Asked Questions
What size mount should I use for my sample?
Aim for the specimen to occupy 50–70% of the mount diameter. Too small a specimen wastes resin and may float during pouring; too large a specimen leaves thin resin walls that fail at the edges during grinding. Standard PACE mount diameters are 1″, 1.25″, 1.5″, and 2″. A 1.25″ mount handles specimens from about 6 to 22 mm comfortably. If your specimen falls outside the 50–70% range, use mounting clips or a multi-specimen pour to bring the effective area within the band.
How do I know if my resin is still good?
Most PACE castable hardeners carry a one-year shelf life from manufacture; epoxy resins are stable longer but degrade if they absorb moisture from the air. Signs of degraded material: hardener that has yellowed or crystallized, epoxy that has thickened or clouded, acrylic powder that has clumped. The most reliable test is mounting a small sacrificial specimen and confirming the cure cycle behaves normally. If your mounts have started taking longer than usual to harden, or coming out gummy on a previously-reliable recipe, suspect the hardener first. Store containers tightly sealed, away from heat and humidity, and check expiration dates against your inventory.
When do I really need a conductive mount?
Two situations require it: scanning electron microscopy (SEM), and electrolytic etching or polishing. In SEM, a non-conductive mount lets the specimen build up surface charge under the electron beam, which distorts the image. In electrolytic prep, current has to flow through the mount to the specimen surface. PACE CONDUCTO is a phenolic with graphite filler that handles both. For other analytical techniques (optical microscopy, microhardness, EBSD on a coated mount), a standard phenolic or epoxy mount works fine.
Can I really vary the acrylic powder-to-liquid ratio without ruining the mount?
Yes, by up to ±25%. Castable acrylic is unusual in this regard: both the powder and the liquid are acrylic systems with different additives, so altering the ratio changes cure time and viscosity without compromising the final mount properties. More liquid = faster, thinner; more powder = slower, thicker. Epoxy mix ratios, by contrast, are strict; mismatching epoxy resin and hardener produces a soft or uncured mount.
Why preheat the specimen instead of the resin for better edge retention?
Castable epoxy shrinks slightly as it cures. If the whole mount cures uniformly, the shrinkage pulls resin away from the specimen edge and leaves a microscopic gap. That gap is where the edge rounds over during grinding. Preheating only the specimen makes the epoxy nearest the specimen cure first. The rest of the mount then cures and shrinks INWARD, toward the already-set shell, keeping the resin tight against the specimen. The trick costs you nothing and noticeably improves edge retention.
How do I get bubble-free mounts on a porous specimen?
Use a low-viscosity epoxy (PACE ULTRATHIN 2), pour under vacuum, and cure under pressure. The gas law (PV = nRT) tells you why: low pressure during the pour expands the air bubbles inside the specimen's pores and helps them escape, then high pressure during cure compresses any remaining gas and forces resin into the voids. Keep the vacuum step under 60 seconds; longer vacuum makes dissolved gases in the resin itself bubble out, which gives you a worse problem than the one you started with.
Why does my acrylic compression mount have a cloudy white blob in the middle?
That is the "cotton ball" defect. The press cycle did not bring enough heat to the center of the powder bed to fully melt it. The fix is more time, more temperature, or both: re-press the mount at the upper end of the acrylic range (180–200°C) for an extra minute or two. The defect usually disappears on the next cycle. Start near the top of the acrylic range from the beginning to avoid the problem.
Why won't my mount come out of the mold?
Most often it is missing or insufficient mold release. The cured resin bonds chemically to the mold surface and locks itself in. Silicone rubber molds are flexible enough that you can usually peel them off even without release agent, but plastic and metal molds need a thin, even coat of release applied before pouring. Too much release leaves a glossy artifact on the mount face, so go light. If a mount is already stuck, warming the mold gently (15 minutes in a 100°F oven) often loosens the bond enough for removal. As a last resort, sacrifice the mold to save the specimen.
Can I save money on glass-filled epoxy or DAP mounts?
Yes, with a laminated mount. Glass-filled epoxy (Epocomp) and DAP cost 3 to 5 times more than phenolic. Put a thin layer of the expensive resin around the specimen, enough to survive grinding loss, then back-fill the rest of the mount with red phenolic. The two layers bond during the press cycle. The edge retention is the same as a pure glass-filled mount, but the bulk of the cost moves to phenolic. Use a contrasting phenolic color (red is traditional) so the layer transition is visible during inspection.
What's Next: Grinding
With the specimen mounted and the resin cured, the next step is grinding. Grinding removes the damage layer left by sectioning, flattens the mount face, and prepares a uniform surface for polishing. The grinding step also confirms whether your mounting choice was correct: a soft mount or a poorly-bonded edge shows up in the first 30 seconds against a SiC paper.